
Easy Picture Frames
Step 2
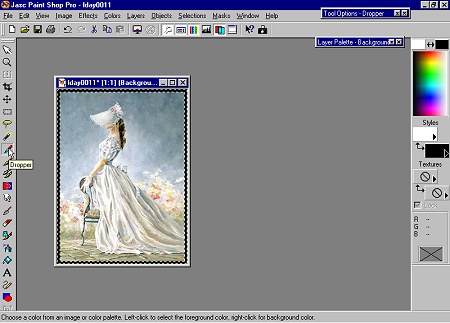
Click on the "Dropper" tool, and select a color from the image to be color of this section of the border. If you select the Dropper, then all you have to do is click on any part of the image, and that will be the color that you are going to use. I chose #899DA8. Flood Fill the border with the color that you selected.
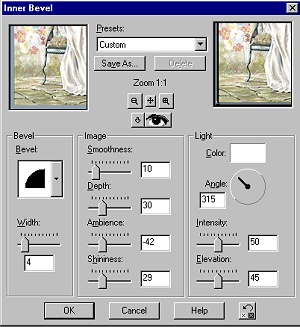
Now we are going to add a bevel to this section of the frame. Go to "Effects" and from the drop down list, select "3D Effects", and then "Inner Bevel". Use these settings for the bevel.
Now, go to "Image" and "Borders" again, but this time, add another border with 10 pixels. Using the Magic wand, select the new border, and flood fill with #C7D1DA.

Now, go to "Image" and "Borders" and add another border but change the size to "15". Flood fill this border with the same color that you used on the first border, #899DA8. Repeat the "Inner Bevel" for this section, and you have a really lovely and simple frame for your picture.


Ask me about...
Colon Cleanse, weight loss, health, nutrition & energy.
all rights reserved