|
THIS TUTORIAL IS WRITTEN FOR PAINTSHOP PRO 9, BUT USERS OF OTHER
VERSIONS SHOULD HAVE NO TROUBLE FOLLOWING IT. You can find the Photoshop
version HERE.
For this tutorial, you will need a zip file of supplies you will need,
which you can download HERE. You will also need the ornaments presets,
which you can find HERE.
Filter to use for the presets are Flaming Pear SuperBladePro. Extract the preset files
to the folder "environments and textures". Make sure you also put the bitmaps there.
1.
Open the file "ornament template.psd". Shift+D to duplicate and close
the original. Ctrl+A+F to select the white circle. Choose an ornament
preset from Effects - Flaming Pear - SuperBladePro and apply it.
In my example, I've applied ks_ornament 255.
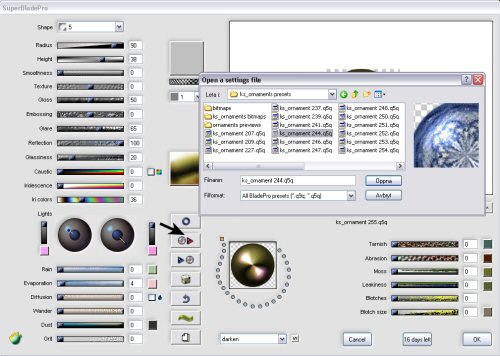
Choose one by clicking where the arrow shows. If you need to find the bitmap, just
click "find folder" and look it up and open it.
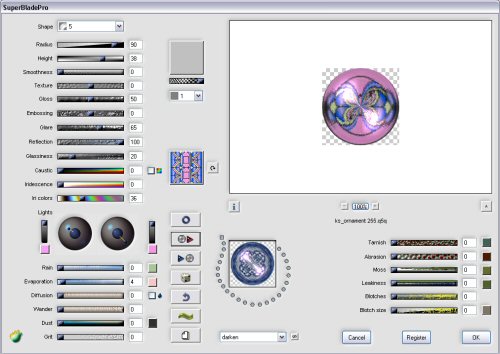
If you use the same preset as I it should look like this before you click "OK".
2.
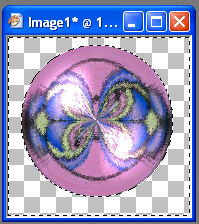
With your selection still active, go to Selections: Defloat,
Selections: Modify, Contract, and type 2 into the box. Hit OK. Go to
Selections; Invert, and hit the Delete key. Your image should now look
like this:
3.
Go to Image, Resize, and use these settings:
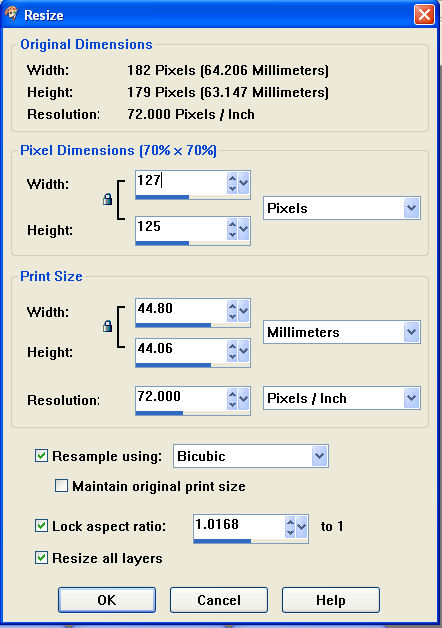
Hit OK. Your image should now look like this:

4.
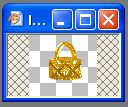
Open the file "ks_ornament cap template.psd". Click on the
"cap" layer: Ctrl+A+F to select it and apply the preset "ks_gold ornament
cap" to it, which you should have copied to the folder "environments and textures"
in SuperBladePro like all other presets and bitmaps. Selections - Defloat.
Click on the "top" layer: Ctrl+A+F to select it and apply the
preset "ks_gold ornament top" to it. Selections - Defloat.
Click on the "loop" layer: Crl+A+F to select it and apply the preset
"ks_gold ornament loop" to it. Defloat. Your image should now look like this:
5.
Right-Click on your layers palette and Merge Visible.
Ctrl+A+F and Copy. Click on the title bar of the ornament to activate
it, and Paste As a New Layer. Select None. Your image should now look
like this:

6.
Go to Image, Canvas Size, and use these settings:

Hit OK.
7.
Select the move tool on the toolbar (cross arrows).
Holding down the SHIFT key, hit the up arrow on your keyboard 7
times. Your image should now look like this:
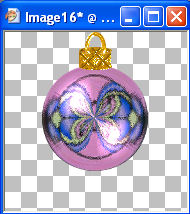
Go to Layer, Merge Visible. Your ornament is now done! Next, we'll
make the stand for it to hang on.
Ornament
Stand |