Old World Watering Vessel
This tutorial is best viewed at 1024x768.
Please read my Terms of Use if you have any questions.
At this
time I am not allowing my tutorials to be translated
so please don't
ask!
All images are the sole property of © Designs By Astro
Do not
copy, place on CD, make into Scripts or send
through email without my prior
written permission.
A link is always welcomed and appreciated though!!
All rights reserved.
The image/images you make using this tutorial
is your property to do with as you wish.
If you have any questions
or need further help you can
Email
Me
Tutorial written March 12, 2007
This tutorial is written using PSP X but can be done in all version. I do assume you have
experience working with vectors, layers and the painting tools in PSP. No outside filters
are used. There are only 3 vector shapes to this tutorial, the rest is done by shading
and painting.Let's get started. Remember to Save your work often.
Making the body of the vessel.
1. Open a 400 X 500 transparent canvas.
2. Set your background color to #978980, foreground should be off.
3. Preset Shapes set to Ellipse with these settings.......
4. Draw out a large vertical oval a little off center to the right.....
5. Right click, Convert to Path, click on the Pen Tool.
6. Add nodes, changing to Cusp where needed to shape your vessel something like this...
You can click on Apply or you can convert to raster, whichever way you prefer to do
your vectors.SAVE!
Making the bottom rim of the vessel. Add a New Vector Layer.
7. Preset Shapes and color the same as above.
8. At the bottom of your vessel body draw out a small oval....
9. Right click and Convert to Path, click on the Pen Tool.
10. By adding two nodes, I shaped my bottom rim like this...
SAVE!
Vessel Handle. Add a New Vector Layer.
11. Same Preset Shapes settings.
12. To the top left of your vessel body, draw out a long narrow oval...
13. Right click, Convert to Path, click on the Pen Tool.
14. By adding nodes and changing to Cusp where needed, shape your handle something
like this....
Close up of vectors....
That's it, you are finished vectoring the vessel.
SAVE!
If you haven't already, convert your vector shapes to raster.
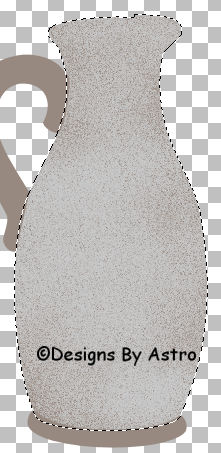
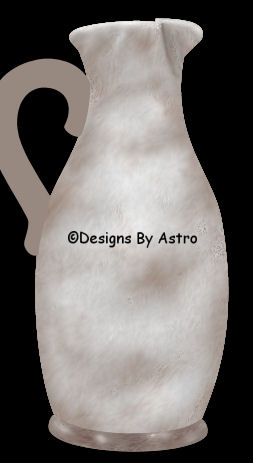
Painting the body of the vessel.
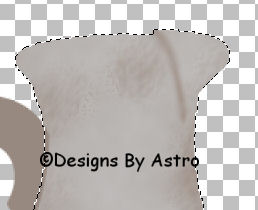
15. Select and Float the body layer. Add a New Raster Layer.
16. Set your foreground color to #cacbcc
17. Activate the Airbrush with these settings......
18. Spay on a heavy layer of the light gray....
19. Apply a Gaussian Blur of 3....
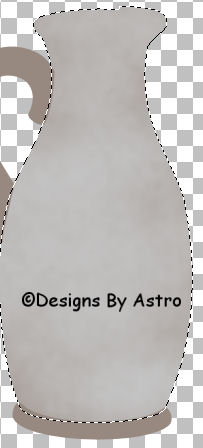
20. Set your foreground color to #82624e and your Airbrush to these settings...
21. On the same layer as the first color and with the body still selected, spray
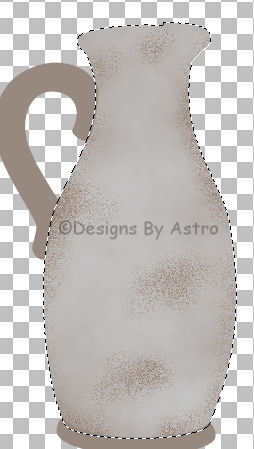
areas that are worn on your vessel....22. Activate the Smudge Tool with these settings...
23. Lightly smudge your areas. Tip: on the outer edges, pull your smudges inward to
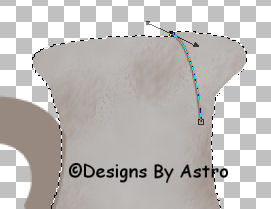
help create the illusion your vessel is rounded....24. Leave your body selected. Activate the Pen Tool with these settings....
25. Foreground color should be the same as we last used, background should be off.
Zoom in to the top of your vessel. Start your line right at the dent you made in the lip of
the body. End the line like I have in the screenshot below. Change the node type to
Symmetric and curve the line a little. You should have something like this....26. Click Apply. Use the Smudge Tool to blend the line...
27. Leave selected. Set your foreground color to White and your background color to #78756f,
Airbrush set to these settings...28. Spray a white area around the top rim of your vessel and down the line you drew. Use the
gray color to spray some dark areas along the edge of the white areas....29. Use the Smudge Tool to blend the areas. Spray more if need and smudge until you have
something you're happy with.30. Continue down the body using the Airbrush, Smudge Tool and the 3 colors until you
have something like this....Deselect the body and SAVE your work.
For the Rim and the Handle, we want them to look as if the finish has worn off so
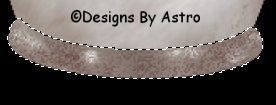
keep that in mind as you shade them.31. Select and Float the bottom rim. Add a New Raster Layer.
32. Set your foreground to #4b3f3f and your background to #5a322a. Set your Airbrush to...
33. Spray a few clicks of the dark color on the layer.
34. Switch the reddish brown color so that it is your foreground color. Spray a few clicks of it.
35. Set your foreground color to White. Lower the Airbrush size to 10 and spray 4 or 5 small
heavy areas of the white....36. Use the Smudge Tool to blend the areas....
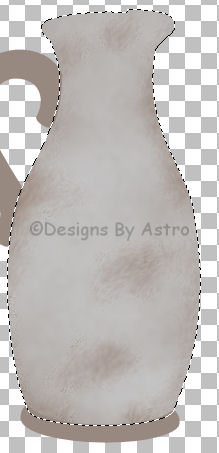
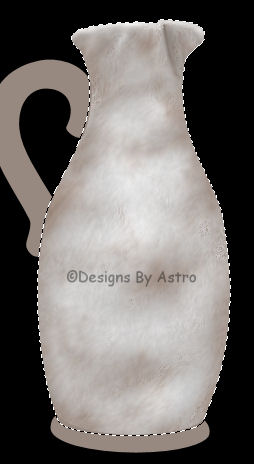
37. Using the Airbrush, Smudge Tool and Colors used for the bottom rim, do the handle.
Remember to select it first and add a New Raster layer. Lower or raise the size on the
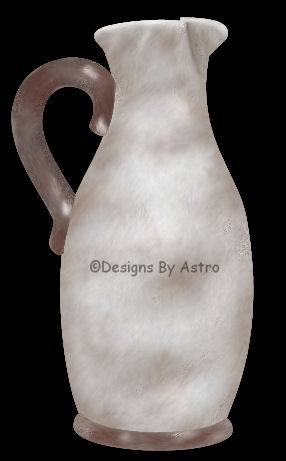
Airbrush as needed.This is what my finished vessel looks like....
Tip; if you have jaggy edges you can use the Soften tool to lightly go around the edge
and blend those away.
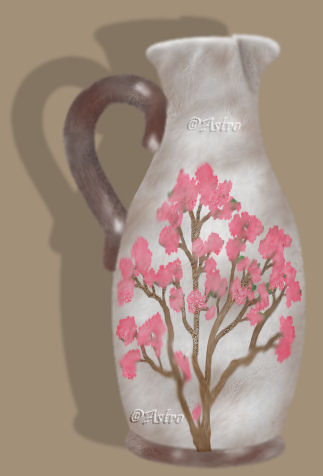
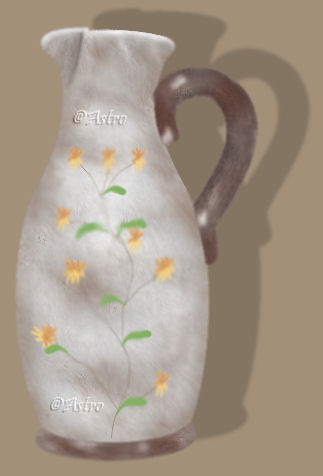
That's it, you have a watering vessel. Now, I know you have flower tubes and tree tubes,
add a nice vine or tree to your vessel as I did in the header if you'd like. You can use the
Smudge or soften tool to blend the tube or lowering the opacity on the layer might work.
Until next time... God Bless!
Connie
Designs By
Astro Index of Tutorials
Tutorial written March 2007
© Copyright
2007 Designs By Astro
All rights reserved.