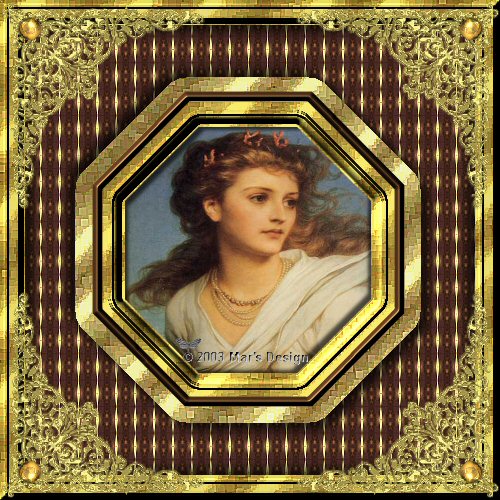
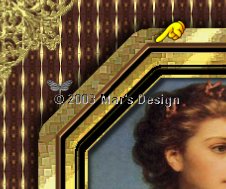
Louis
XIV Frame (PSP
8 ) © 2003
What you need:PSP
8. Download a
30 trial here . The
ZIP with materials
here .Sir Frank
Dicksee . .
Save
often.
Let's
go . Good luck.....
1. Open a new image 300 X 300
> Transparent.
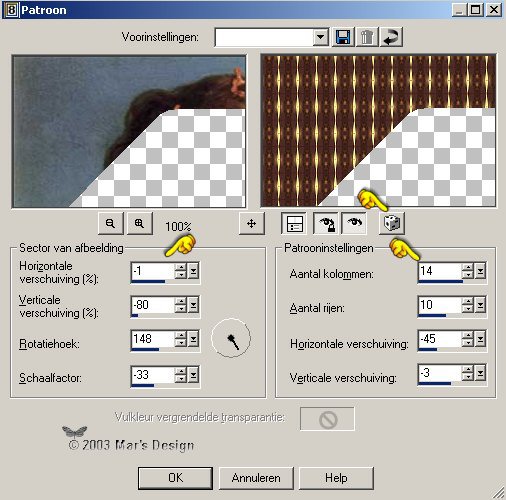
2. Foreground style to pattern and
look for the MD-Go ud-1 Pattern.
Fill your image.
3. Image > Canvas size to 500 X
500.
4. Go to your Scripts and find >
Large mosaic.
Click the blue arrow to run the
script.
Click OK if you see next
screen.
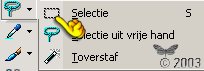
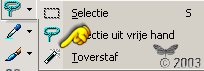
5. Tools on Selection.
Preset Octagon and
Replace Modus.
6. Draw a selection on the gold, start
at the top left.
7. Selections > Invert.
Hit delete to remove the
corners.
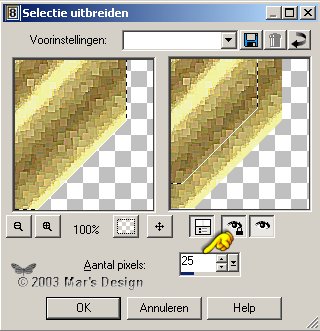
8. Selections > Expand with 25 pixels.
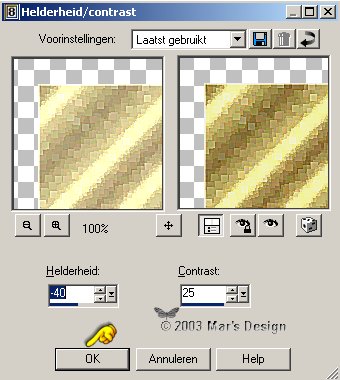
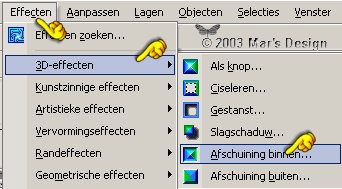
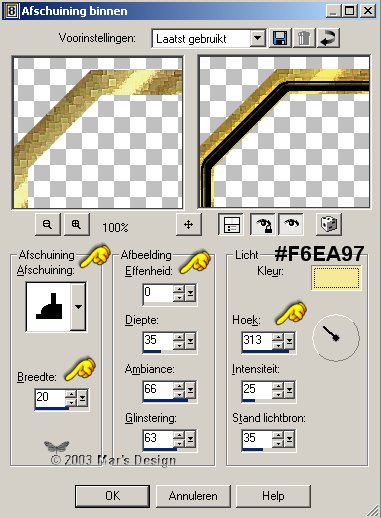
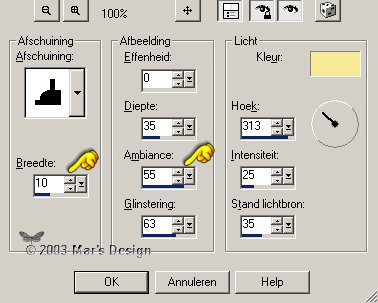
9. Effects > 3D effects >
Inner bevel.
Apply.
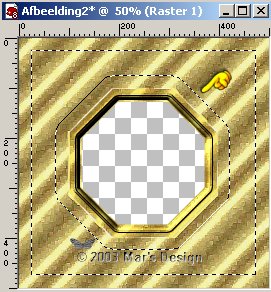
10. Selections > Invert.
Hit delete to remove the inner
part.
11. Click
Fill selection with
MD-Go ud-1 Pattern.
12. Repeat Mosaic script.
13. Selections > Modify > Contract 25
pixels.
Hit delete to remove the inner
part.
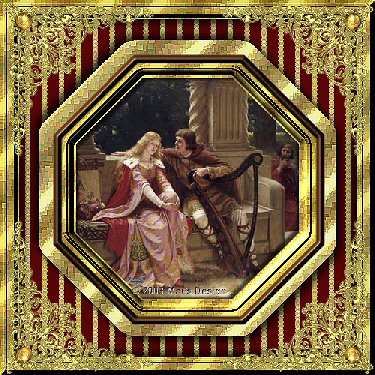
14. Open your image and Copy.
Paste into selection.
15. Effects > Reflection-effects
> Pattern.
You can adjust each pattern to your
16. Selections > Invert.
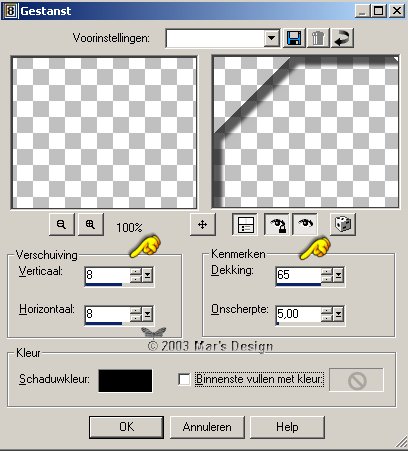
Effects > 3D effects > Drop
shadow.
Repeat at - 7.
17. Selections > All. Modify > Contract 25
pixels. Invert.
18. Repeat the inner bevel.
You can save this frame to your
frame folder now.
19. Click your wand in the middle of
your image. Modify
> Expand 5 pixels.
20. New layer.
Copy your image.
Paste into selection.
21. In your Layer Pallet >
Move this layer below your frame
layer.
22. New layer.
Effects > 3D effects > Cut
out.
23. New layer.
Repeat the cut out but Vert. and
Horiz. at - 8.
Merge all layers.
24. Open the MD-Louis-corner
(zip).
Copy and paste as a new
layer.
25. Move
26. Duplicate.
Image >
Mirror.
27. Duplicate.
Image > Flip.
28. Duplicate.
Image > Mirror.
29. Merge all layers.
30. Preset shapes Find Octagon.
31. Draw an octagon over the white
border of your frame.
32. Repeat inner bevel.
33. Merge all layers.
Your Louis XIV Frame is
done.
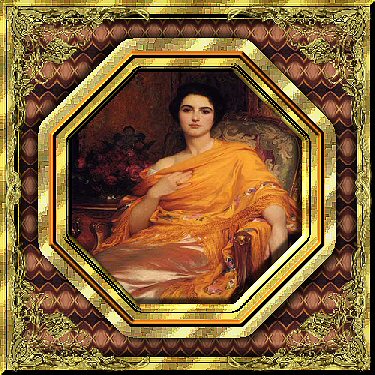
For the examples below, I did
start
This tutorial is written and
designed by Mar and therefore her property.
This tutorial may not be
downloaded for any purpose otheryou're a Moderator of a group,,
etc.
My tutorials are never ever to
be sent over any mailing list or to leave my
site.
Translation into English
with help of my best friends, Trudie.
Since
10-10-2003: