

For information about which fonts, programs, tutorials, etc I used to construct my pages and my headers, click here.
|
| |
| For this tutorial you will
need: ULead PhotoImpact - available for trial or purchase here or Corel Paint Shop Pro (or Jasc PSP pre version X)- available for trial or purchase here or Adobe Photoshop - available for trial or purchase here or Adobe Photoshop Elements - available for trial or purchase here ~~~~~~~~~~~~~~~~~~ This tutorial will work in any of these programs and will also work in most graphic programs that support layers and filters and expanding the canvas. ~~~~~~~~~~~~~~~~~~ Filters and Materials needed Simple-Quick Tile, available free here FM Tile
Tools-Blend Emboss, available free here -
this
is commercial, but after the time limit Picture ~~~~~~~~~~~~~~~~~~ | |
|
Let's get started! | |
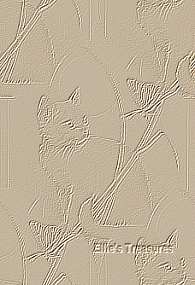
| 1. Choose a medium to dark color
from your graphic Resize your graphic so it's about 400 on longest side 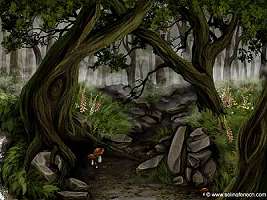 Art is Changeling by Seline Fenech | |
2. Go to
Effect>Simple>Quick tile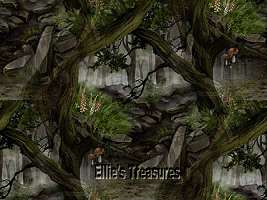 | |
|
3. Fill
tile with white, 25 percent transparency | |
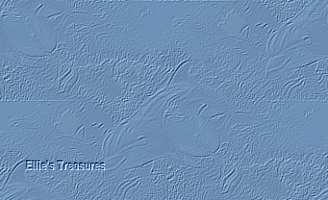
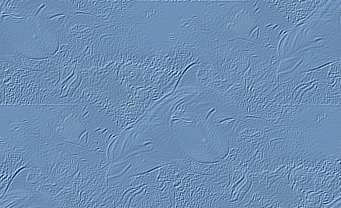
4. Effect (or Filter)>FM Tile
Tools>Blend Emboss at default twice, edge wrap
checked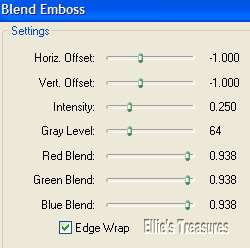 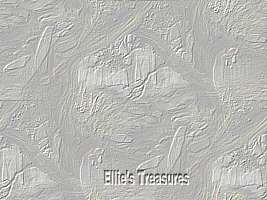 | |
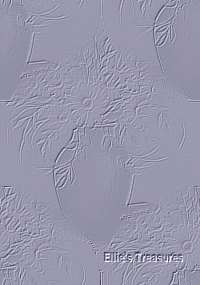
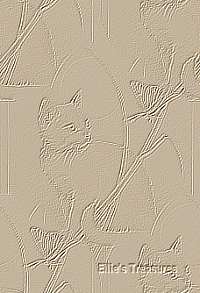
5. Fill tile as you did in step 3
but this time with your chosen color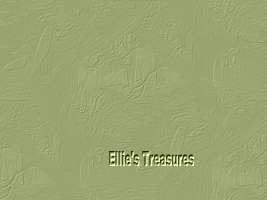 | |
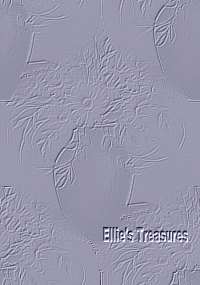
| 6. Apply FM tile tools, Blend
Emboss at default, once or twice until you like the effect | |
|
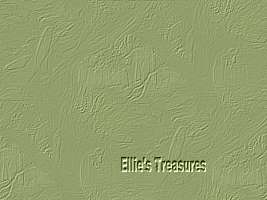
You're
done, save a a jpg. | |
|
|
|
|
|
|
|
If you have
any questions or suggestions, click on the email button below to
contact me. Have a wonderful day! | |
|
These
tutorials are all my own creations. | |
|
| |