|
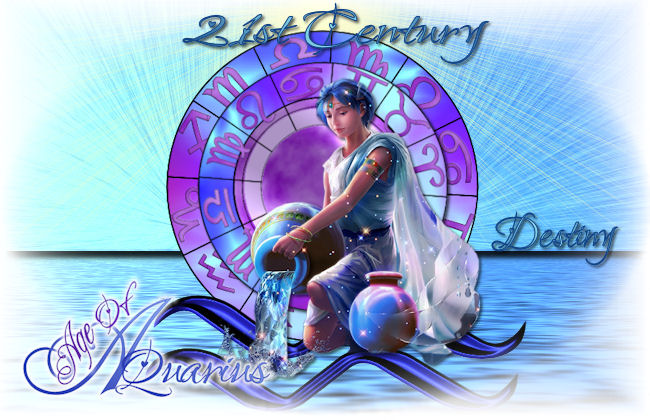
Age of Aquarius
Written by Destiny on March 19,
2008
All Rights ® retained to same
This tutorial was written by me on
March 19, 2008 and any similarity to any other
tutorial is purely coincidental.
Please do
not claim it as your own. This tutorial was
written by me using PSP X2 and I retain all
rights to same.
Your results, however, are
not and are yours to do with as you will.
I
hope that you enjoy this tutorial and if you
have any questions please E-Mail
me.
All materials and tubes used are
copyrighted to their respective owners and
credit will be given if known.
Images
supplied with my tutorials that I have made may
be shared with other groups as long as my
watermark is not removed.
If there is
something I have used and it is yours, please
let me know so I can give you credit or take it
down.
You can download a free trial of PSP here
This tutorial assumes
you have a working knowledge of PSP.
Unrar
files into a folder that you can easily
access.
open the supplied images in psp
Put
mask in your mask folder.
Open font for use in
psp.
Install plugins into your plugins
folder. |

Ok, Let's get started.
- Open a new image: raster layer size 650 x
420
- flood fill with white
- add a new raster layer
- Choose a light and dark color from your
tube:
I used: foreground: #124386
background: #98eaf5
Gradient Setting:
- #2 back/fore gradient angle 45 repeat
0
- flood fill newlayer
- On gradient layer: apply effects
- alien skin eye candy 5 textures Swirl, Features,
Medium, No Twist default setting
(or change the Basic settings like this:
feature size: 999.00,
smear length: 25.25,
streak detail: 100,
random seed: 830)
- effects; flaming pear: flood default setting
- effects; flaming pear: ChromaSolarize
- select the upper area above the flood line
- effect: sunburst: settings ~ brightness: 100
horizontal; 49 Vertical; 3
Rays: Density 100
brightness 100 circles: 0 color: #ffffc0;
- apply drop shadow 7 7 86 6.93 black
- copy and paste the zodiac wheel as a new
layer resize 80% all layers unchecked.
- duplicate
- Apply drop shadow 2 2 68 4
- resize 80% all layers unchecked
- Free rotate 90 left - All layers NOT checked
- merge down
- edit copy wave tube paste as new layer
- resize 80%
- move to center bottom
- copy and paste the amkagayaquarius tube as a
new layer
- resize 72%
- effects 3d effects drop shadow 2 2 68 4
- close bottom layer
- merge visible
- open bottom layer make top layer active
- layers: load mask ~ mask 2 Settings: source
luminance fit to canvas hide all mask
- delete mask layer
- merge down
- copy word art paste as new layer
- resize 68% all layers unchecked
- add name watermarks etc
- font used Love Light (love)
merge all and save as jpg
I hope that you have enjoyed this
tutorial and if you have any questions please e-mail
me or leave a message in the forum.
Thank you, Destiny
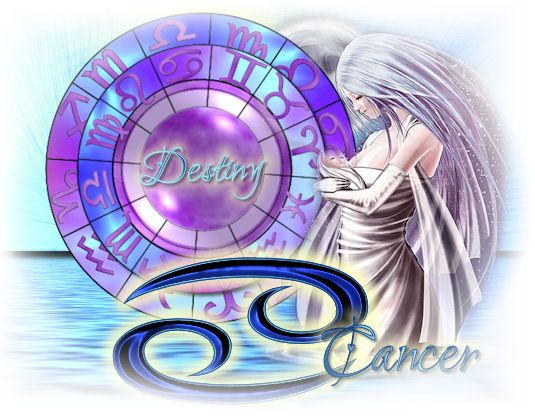
Another sig made using this
tutorial:
| | | |
Tutorial
registered with TWI

~~~ Home /
Tutorials
/ / Forum ~~~
|