|


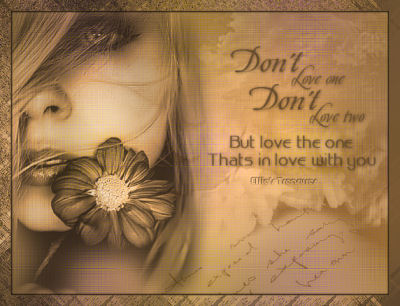
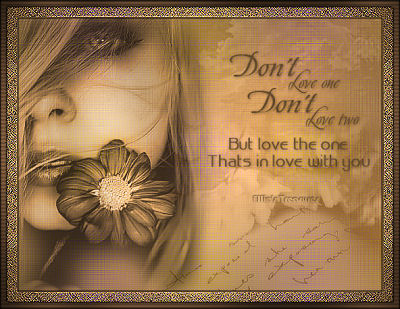
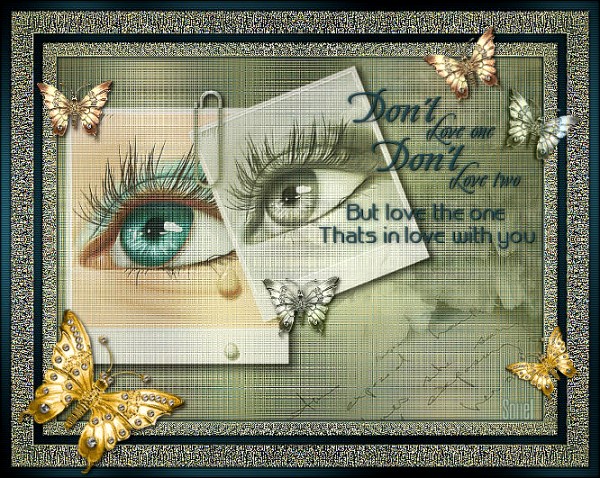
Above tag is
slightly reduced in size
Scroll down or click
here
for alternate versions
Translated with
permission from the creator, Jet at Jetje's PSP
Creaties tutorial site.
See the original
tutorial here for PSP in
Dutch
 

This is
not my tutorial, it belongs to Jet.
If you
would like to translate into another language,
you must ask her permission.
You can contact
her here.
 
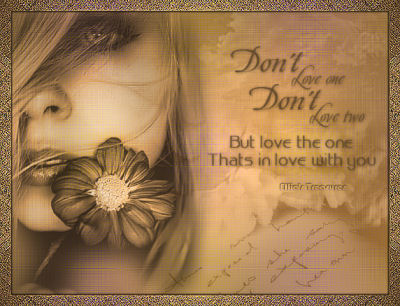
They will both open
in a new window and print out on standard 8½" X
11" paper
For
information about which fonts, programs, etc I
used to construct my pages and my headers,
click
here.
|
For this
tutorial you will
need:
 or or 
I've done this
tutorial in PSP 9 and PSP XI.
I believe it
can be done in most versions.
Filters
and materials needed
Funhouse - ZigZaggerate and
Xaggerate, free here
FM Tile tools - Blend
Emboss, free here (it's a trial version but
blend emboss is one that keeps
working)
Simple - Four Way Average, free here
Graphic Plus - Cross
Shadow, free here
Supplies
in zip file here
(((Supplies in zip file
here
for older psp versions has .psd tubes instead of
pspimage. these can be opened in any
program.)))
It also contains the words on a
transparent layer instead of the brush if you
can't use .pspbrush files,
and a properly
sized canvas with the gradient already on it if
you can't use the .pspgradient.
The material has been prepared so that
you can open it with different versions of the
program.
I am assuming you know the basics of
Paint Shop Pro and where the tools can be
located.
My filter windows may look different
from yours as I use Filters Unlimited 2 to
manage my filters.
A great program! It's
Shareware and you can get it here. |
Here are some
arrows and bars you can drag and drop where you
need to mark or underline where you are. .
Just left click and drag to where you want
it then let go.
They will stay where you put
them until you close your browser.
       

 |
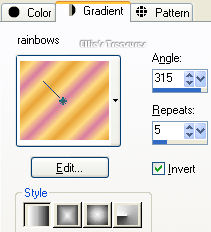
Put the rainbow gradient in
your gradient folder
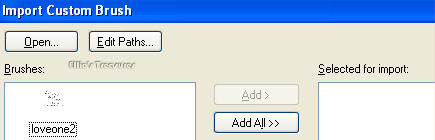
Put the brush in your
brush folder You may have to go to
File>Import>Custom Brush to add it to the
list.
In the import window click on open and
browse to where the brush is, then click Add to
add it to the right pane,
if it says it
already exists, just change the name then click
the add button. Now click ok.
 |
1. Open new canvas
640X480
Change your color palette to
gradient, find your rainbow gradient.
linear
angle 315, repeats 5, invert checked, fill your
canvas
 |
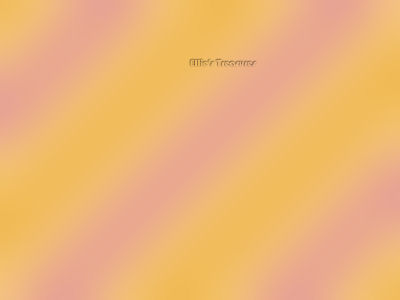
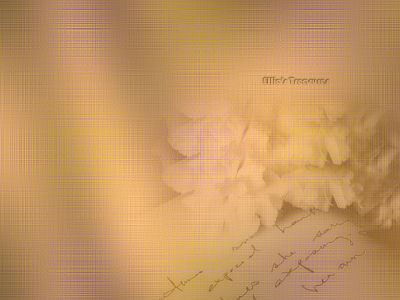
2. Fill your canvas with the
gradient. Go to Adjust>Blur>Gaussian blur
set at 45.
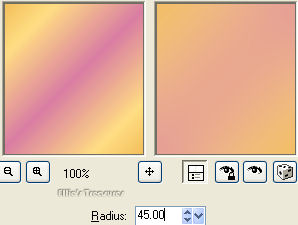
It should look like this
now.
 |
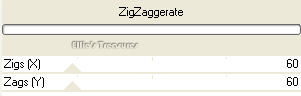
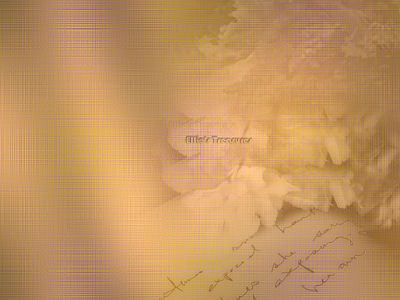
3. Effects>Funhouse -
ZigZaggerate at default of 60-60
Effects>Simple - 4way
average
Effects>Edge Effects>Enhance
more
Adjust>Sharpness>Sharpen
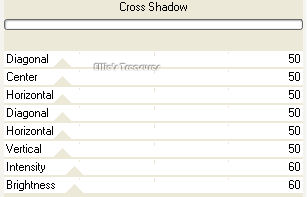
Effect>Graphic Plus -
Cross-Shadow-default except for Vertical and
Intensity 35 and Brightness on 67

If you are using Filters Unlimited
(a filter manager) as I do, if you hold the Alt
key down while clicking Apply you can do
multiple filters without it closing down between
each one.
|
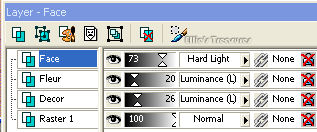
4. Open and Copy marif
misteddecor0100 and paste as new layer
(control-L)
Move it to bottom right as shown,
partially off the canvas
Change blend mode to Luminance
(Legacy) and the opacity to 26

 |
5. Open and Copy marif misted
fleurs and paste as new layer
(control-L)
Move this right above the angle
as shown
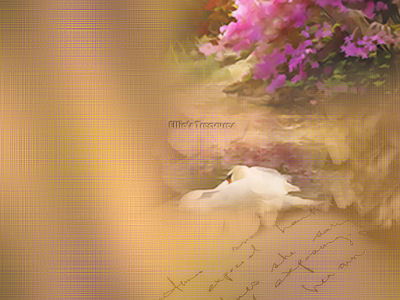
Change blend mode to luminance
(legacy) and the opacity to 20
 |
6. open and copy marif misted
face and paste as new layer (control-L)
Move
it to the left side as shown
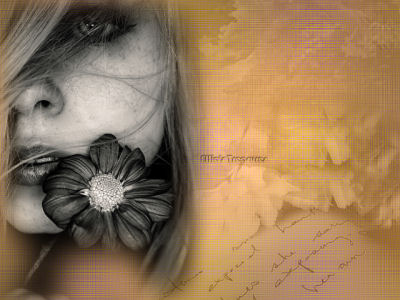
Blend mode on hard light and
opacity at 73
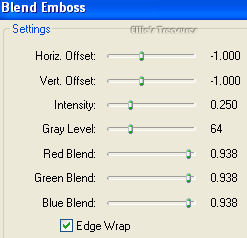
Effects>FM Tile tools>Blend
Emboss at default
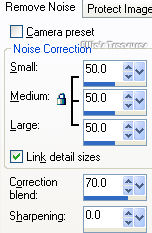
Adjust>Photo Fix>Digital
Camera Noise Removal at default
In PSP XI it
right in the main Adjust menu.
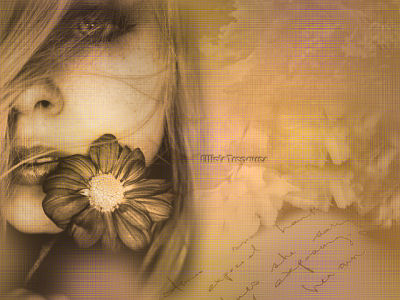 |
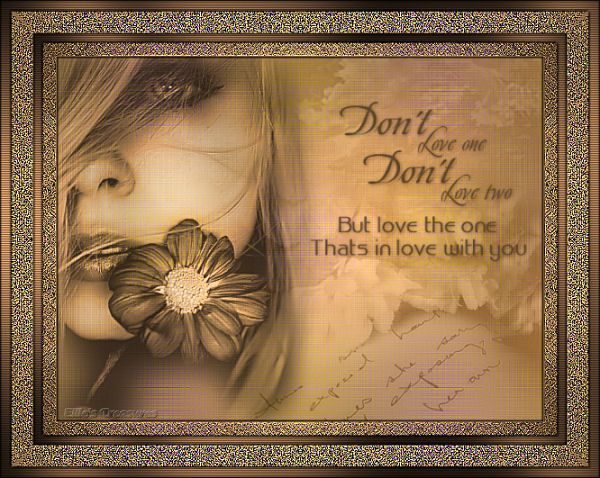
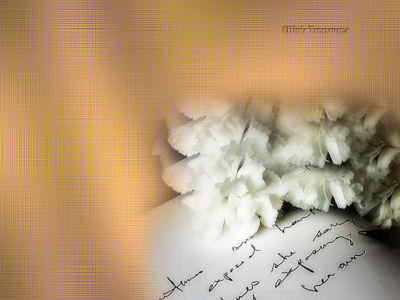
7. Layer>New Raster
Layer. In your color palette, put foreground on
#5e462a (a mocha color)
Find the brush "love
one" and apply 2x on the same spot
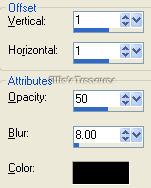
Drop
Shadow 1,1,50,8 black

Merge all layers
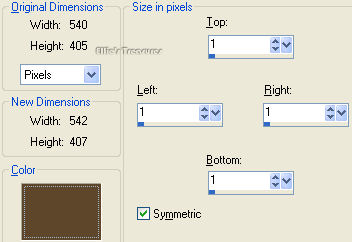
If
you want your tag to be 600 px width then reduce
the size to 540 pix
wide because a frame of
approximately 63 pixels will be
added
Duplicate and minimize the
duplicate. |
8. Selections>Select
all
Effect>3d>Cutout 1,1,100,3
black
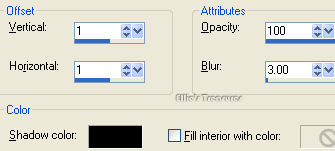
repeat with -1, -1, 100,
3, black
Select none. |
9. Image>Add
border 1 pixel # 5e462a
Add border 15 pixels any light
color
Select the border with the magic wand,
anti alias outside, feather and tolerance at
0
Copy your duplicated
image.
Edit>Paste>Paste into
selection
Adjust>Blur>Gaussian Blur set
at 30
Effects>Funhouse>ZigZaggerate
60-60
Effects>Funhouse>Xaggerate -
24-24
Effects>Simple 4 way
average
Effect>Edge Effects>Enhance
more
Selections>Select
None |
10. Image>Add border 10
pixels #a0744f
Select border with magic
wand
Effects>Graphics Plus>Cross-Shadow
bottom two lines at 128
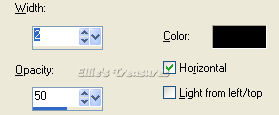
Effects>Texture
Effects>Blinds, width 2 cover 50 - horizontal
checked, black
Effects>3d>Cutout, 1,1,100,3
black
repeat with -1, -1, 100, 3,
black
Select none. See larger
tag at the top of the tutorial for a closer view
of this border. |
11. Image>Add border 25
pixels any light color that contrasts
Select
border with magic wand
Edit>Paste>Paste
into selection
Adjust>Blur>Gaussian
Blur set at
30
Effects>Funhouse>ZigZaggerate
60-60
Effects>Funhouse>Xaggerate -
24-24
Effects>Simple 4 way
average
Selections>Modify> Contract 1
pixel
Effect>Edge Effects>Enhance
more
Selections>Select
None |
12. Image>Add border 12
pixels #a0744f
Select border with magic
wand
Effects>Graphics Plus>Cross-Shadow
bottom two lines at 128
Effects>Texture
Effects>Blinds, width 2 cover 50 - horizontal
checked, black
Effects>3d>Cutout,
1,1,100,3 black
repeat with -1, -1, 100, 3,
black
Select none
You're finished!
Watermark and save as jpg. Don't forget to
optimize!
I usually optimize at about
20.
 |
l
hope you had fun!
Back
to top |
| If
you have any questions or suggestions, click on
the email button below to contact me. Have a
wonderful day! |
These tutorials are
translated with permission from the original
writer.
Any resemblance to any other tutorial
is purely coincidental and unintentional.
Feel free to share any of my tutorials on
this site by a link back to my site,
but do
not copy and send the entire tutorial to anyone
or any group.
©2003-2006 Ellie's Treasures
|
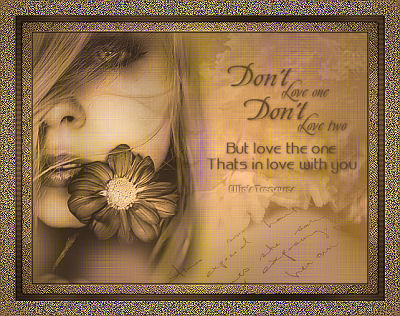
Alternate versions
By my friend Bobbie of Ramblin Roots
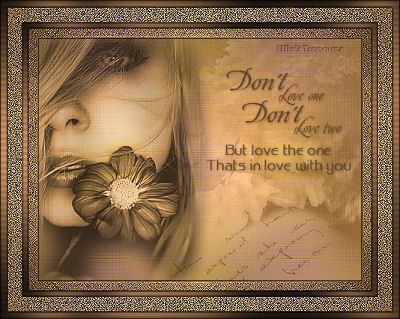
Made by my friend,
Sonel of Sonel's
Corner
 |

 |
|
Back
to top
Webpage Design
Information
This webpage background was
made in PhotoImpact with a tutorial by Deb
DeHaven
Sadly, she passed away but
her tutorials just came back online, thanks to
PIRCNet.
You can find the tutorial
here.
The font I used for the
text on the buttons is BrockScript
The
font I used for the "Don't Love One" tutorial
header is ChaseCallasSH.
Click on the font name to
download the font.
I use PhotoImpact to make
all of my headers due to the amazing
3D text
it has and the wonderful presets available free
online
Most of the presets I use
are either the ones that come with PhotoImpact,
usually the Gel ones,
or from Deb's PI
Tutorials and More (see below) or
Carol Oyl's
site
This is the address to
Deb's old pages
http://www.fortunecity.com/skyscraper/millenit/1716/pitutorials/objects/presets/presets1.html
I can't find any links to
her new pages but the presets are still on this
page for download.
For more sites to find PI
Presets, take a look at my
Great
Beginnings
page. |
