|


Click here
or scroll down to see alternate tiles

 
They will both open
in a new window and print out on standard 8½" X
11" paper
For
information about which fonts, programs, etc I
used to construct my pages and my headers,
click
here.
|
For this tutorial
you will need:
Any graphics
program that allows 3rd party
filters, such as the ones used here.
You can
even do it in free programs that use filters,
such as IrfanView.
There are
instructions on their home site about adding
filters to the program.
Filters and
materials needed
Fantastic Machines Paint Engine,
available free here
Simple filters,
available free here
No materials
are needed
*****************
I am assuming you
know the basics of Paint Shop Pro and where the
tools can be located.
This is an extremely
easy tutorial and can be done by
beginners. |
Here are
some arrows and bars you can drag and drop where
you need to mark or underline where you are. .
Just left click and drag to where you want
it then let go.
They will stay where you put
them until you close your browser.
       

 |
1. Find your
fmachine.ini file here: C:\WINDOWS
Open it
with notepad (right click and click on open
with, then notepad)
It will look like a
simple text file. Scroll to the bottom and put
this line into your ini
file:
Setting01=pastel
sponge;1,1,0,0,0,1,233,324,9,2,100,118,108,14,9,-1,0,0,2,1
You
can change the Setting number from 01 to another
one if you already have a setting01.
Now save
it to the same place. When you open your graphic
program and
look at the Paint Engine filter,
you will see this new preset in there.
You
can also input the settings in the screenshot in
step 3 manually into the filter window and save
it.
I love this Paint Engine preset and
use it all the time. I even applied it to the 3D
tutorial header text. |
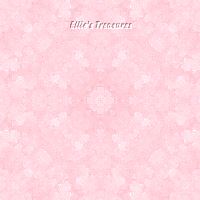
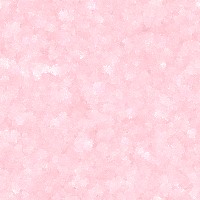
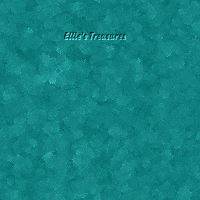
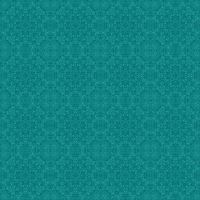
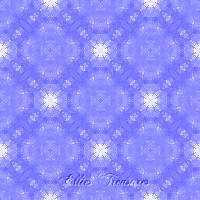
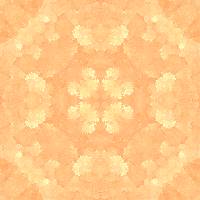
2. Open a new canvas
200X200. Fill with your chosen color.
Make
it a bit darker than you want the final outcome
to be.
  |
3. Fantastic
Machines>Paint Engine
Pastel Sponge
preset, wrap edges checked
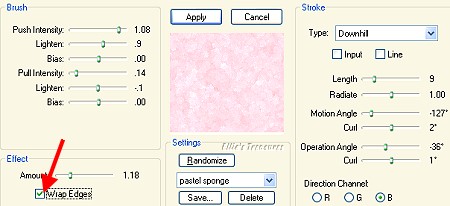
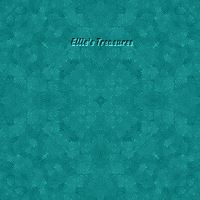
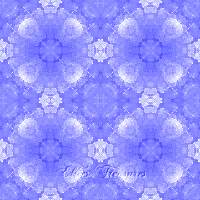
TIP: Some colors don't
show the result on the first try. For instance
red, orange or royal blue.
What I do in that
case is repeat the filter 3 or 4 times till I
get a nice amount of crystals in it.
You get
some very nice results that way.
Scroll down
or click
here and look at the alternate versions. I
did the orange one and the royal blue one that
way. |
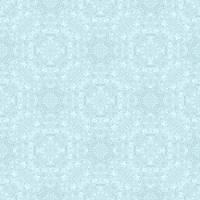
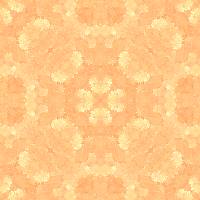
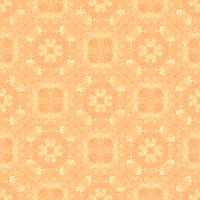
3. Filters or
Effects>Simple>Pizza Slice Mirror,
(this step is needed first, from there you
can apply some of the other simple filters for
different effects.
The results are different
every time so play with it).
save or go on |
One version: Pizza
Slice Mirror then Simple>Diamonds, save or go
on
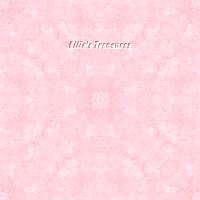 |
Another version:
Pizza slice mirror, then zoom out and flip,
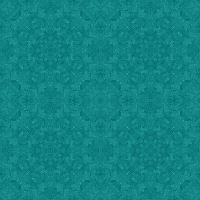
then zoom out and
flip again
 |
You're done! Don't
forget to optimize
PSP:
(File>Export>Jpeg Optimizer). I usually
optimize at about 20.
PI: I usually optimize
at about 80
PS and PSE: I usually save at
about 8. |
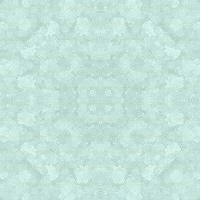
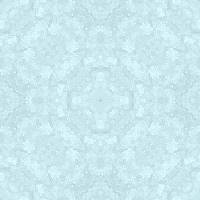
| More
versions |
 |
 |
 |
 |
 |
 |
 |
 |
|
 |
 |
 |
l hope you had
fun!
Back to top |
| If you have any
questions or suggestions, click on the email
button below to contact me. Have a wonderful
day! |
These
tutorials are all my own creations.
Any
resemblance to any other tutorial is purely
coincidental and unintentional.
Feel free to
share any of my tutorials on this site by a link
back to my site,
but do not copy and send
the entire tutorial to anyone or any group.
You do not need my permission to share a
text link only to this tutorial.
You may also
save it to your hard drive (go to File>Save
As, and save as an mht file-
this will save
the pictures with the page in one single file
and will open in a browser.
If not available,
save as Web Page, complete (*.htm, *.html).
This will save it with the pictures in a
separate folder)
or print it out for your own
personal use.
©2003-2007 Ellie's
Treasures
|

 |
|
Back
to top
Webpage Design
Information
This webpage background was
made in PhotoImpact with a tutorial by Deb
DeHaven
Sadly, she passed away but
her tutorials just came back online, thanks to
PIRCNet.
You can find the tutorial
here.
The font I used for all of
the text on the buttons is BrockScript
The
font I used for the "Crystal Lace Tile" tutorial
header is Calligraphia.
Click on the font name to
download the font.
I use PhotoImpact to make
all of my headers due to the amazing
3D text
it has and the wonderful presets available free
online
Most of the presets I use
are either the ones that come with PhotoImpact,
usually the Gel ones,
or from Deb's PI
Tutorials and More (see below) or
Carol Oyl's
site
This is the address to
Deb's old pages
http://www.fortunecity.com/skyscraper/millenit/1716/pitutorials/objects/presets/presets1.html
I can't find any links to
her new pages but the presets are still on this
page for download.
For more sites to find PI
Presets, take a look at my
Great
Beginnings
page. | | | | | | |