This
Tutorial was written using PSP 8 This tutorial was written by me
and I retain all rights to same. Your results, however, are not
and are yours to do with as you will. I hope that you enjoy
making this Sig and if you have any questions please E-Mail me.
Supplies you will need This tutorial uses the VM Toolbox
- Zoom Blur plugin which you can download
here It also uses Eye Candy 4000, which unfortunately does
not offer a free trial of the plug-in used. I have put an
alternative using drop shadow; although it does not give quite the
same effect it is close
Written in PSP 8 Download 30 Day Free Trial You can use your own image or use the one I did. To download
the image and font I used please click here. Open the tube in psp. Open the font and minimize for use in
PSP
Now that you have all your supplies let's get
started
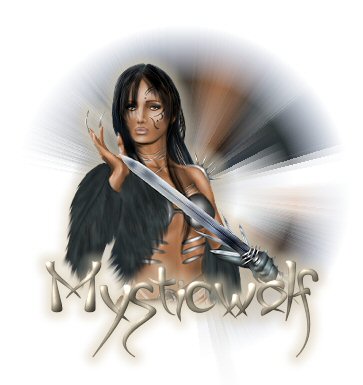
open tube: Duplicate (Control D) Close
Original Resize tube 75% All Layers Unchecked duplicate
the tube close top layer working on the bottom
layer resize: 80% all layers unchecked effects:
distortion effects twirl 600 adjust - blur - motion
blur: settings: angle 358 strength 25 effects:
vmtoolbox; Zoom Blur amount 54 adjust 75 open up the top
layer (Your Tube) Resize by 90% all layers
unchecked with your selection tube choose elipse and draw
around the bottom of your tube. Selections: modify feather
10 then hit delete a few times
If you do not have eye
candy 4000, apply a drop shadow with these settings V H 6
Opacity 60 blur 40 Apply again with V & H set at
-6
Add a new layer Add your text font I
used Psycho size 36 foreground color: #AB9E8B
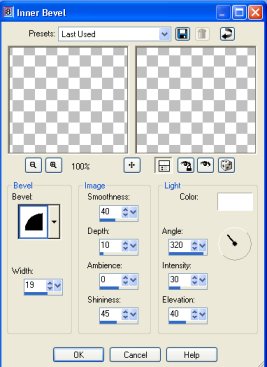
background color: #DACDB4 Add an inner bevel settings:
width 19 smoothness 40 depth 10
ambience 0 shininess 45 angle 320
intensity 30 elevation 40
add gradient glow with same
settings as before. merge all and save as a jpeg.
I hope that you have enjoyed this tutorial if you have
any questions please leave a message in the Forum or e-mail
me