
Good Vibrations Tutorial
I wrote this tutorial on 02/20/08
and any similarity to any other tutorial is purely
coincidental.
Please do not claim it as your
own. This tutorial was written by me
using PSP 10
and I retain all rights to same.Your
results, however, are not and are yours to do with as
you will.
I hope that you enjoy this tutorial and if
you have any questions please E-Mail
me.
All materials and tubes used are copyrighted to
their respective owners and credit will be given if
known.
If there is something I have used and it is
yours, please let me know so I can give you credit or
take it down.
You can download a free trial of
PSP here
This tutorial assumes you have
a working knowledge of PSP.

|
Supplies Needed |
| Plug-Ins
Used |
Supplies
Included |
| AAA Filter: Good Vibrations |
Brushes: msmusic &
exotica sparkle 3 |
| Eye Candy 3.1 Glow |
Mask: Becky Mask029 |
| Download
Supplies Here |
Place
the mask in your mask folder
and the brushes in your
brushes folder
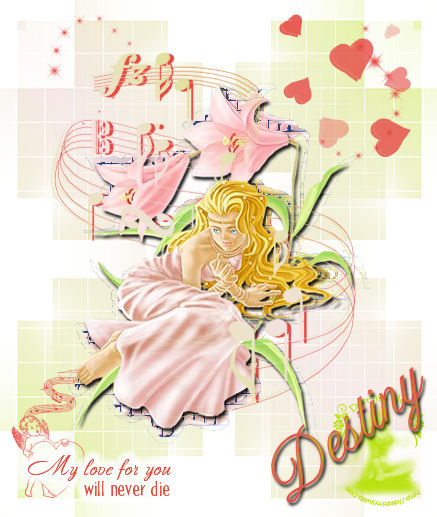
Ok, Let's Get Started
Open new
Image: the one supplied or one of your own (Misted
images do not work will with this tutorial)
Duplicate
Image
Image: Canvas Size: 437 X 517
New Layer:
Flood fill with white, drag to bottom
On Tube
layer:Duplicate twice so that you now have 2 tube layers
Close your top tube layer for now.
We will be
working with the bottom tube layer:Click on the bottom
Tube Layer: Apply Good Vibrations Filter with these
settings:
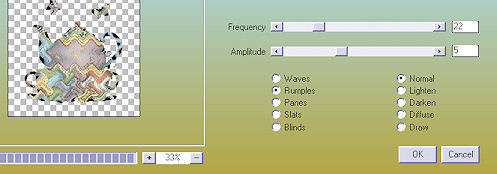
Plug-In AAA Filters Good Vibrations:
1st apply: Frequency 22 Amplitude: 5 Settings:
Rumples Normal
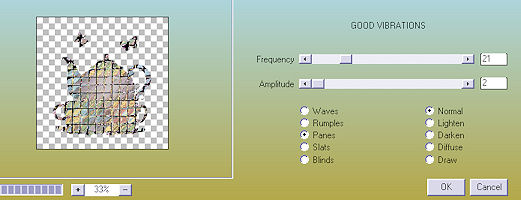
2nd apply: Frequency 21 Amplitude 2
Panes Normal
Open the top tube layer
resize tube
by 92%
all layers unchecked
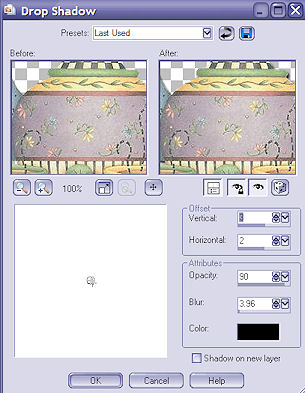
Drop Shadow: 3 2 90
3.96
Merge Down
Choose 2 colors from
your image.
Set gradient to foreground/background
angle 45 repeat 1
New Layer: Flood fill with
gradient
Place this layer above the bottom white
layer
Layers: Load/Save Mask
Look for
Becky_Mask029 ; apply
Settings: Fit to canvas, hide
all mask, source luminous
delete mask layer, merge
group
Place a new layer above the tube layer: Use
your gradient setting for color
Find paint brush:
msmusic default size
apply over or below tube
layer.
New layer: apply exotica sparkle 3 at top
left, refer to image for placement (use a darker color
from your tube for this)
Add word art if you would
like,(I have included a few brushes in the zip
file)
I put a glow around my text to make it more
visible:
eye candy 3.1 glow width 10 opacity 100
Opacity drop off:fat
place your
watermark.
Add Text: I used AltastGreeting size
72 vector twisted my text to fit across bottom right of
image.
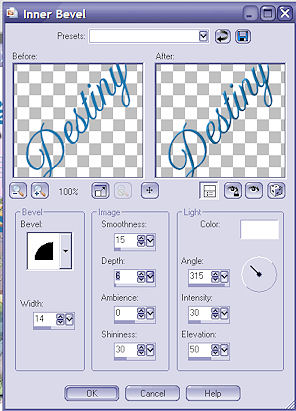
Effects: 3d inner bevel: bevel: 2 width: 14
Smoothness 15 depth: 5 Ambience: 0 Shininess: 30 Angle
315 intensity 30 elevation 50
Effects: 3d drop shadow: 3 2 90 3.96
(Same setting as earlier)
Merge all, save as a jpg.
Hope you have enjoyed this tutorial.
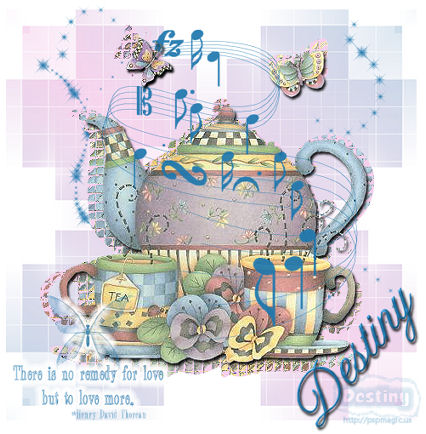
A few more results of this
tutorial:
I hope you have enjoyed this
tutorial.
Please feel free to leave comments or your
result of this tutorial in the forum.
~~~~~~~~~~~~~~~~~~~~~~~~~~~~~~~~~~~~~~~~~~~~~~~~~~~~
Tutorial
registered with TWI

~~~ Home /
Tutorials
/ / Forum ~~~
|