This tutorial was created in PSP8,
March 31, 2004 Resemblance to any other tutorial is purely
coincidental
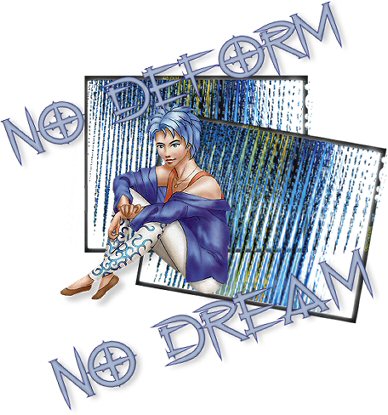
In November, I wrote a tutorial called Deformed
Dream which used Plugins that not everyone is able to
acquire as they are very pricey I have re-written it in hopes
that more people will be able to do it It uses one Plugin that is
freeware and although not exactly the same, I think it is pretty
close
If you have AutoFX DreamSuite 2 and Filters Unlimited
and want to try the other version, you can find it Here
Supplies
Paint Shop Pro 8 Mehdi Wavy
Lab **I made a folder called Mehdi in my Plugins Folder and
unzipped there Please note you need a password to unzip the file
it is on the same page as the link above** Eye Candy
3 Edge
Tube **Open on your workspace** Anime
Tube Font **Open
and minimize in your taskbar**
Thank you to Jarah of JCW Designs for allowing
me to offer the anime tube for download on my site. The edge
tube was made by me so use as you please.
1. Open
the edge tube and the anime tube or tube you are going to use,
duplicate and close the original tubes
2. On the edge
tube - Image - Canvas Size - 600 x 600 We will resize after we
are done - more space is a good thing *g*
3. Select the
magic wand - click in the center of the edge tube
4. Layers
- New Raster Layer
5. Make the tube you are going to use
your active image Edit - Copy
6. Working on the edge tube
image - Edit - Paste - Paste Into Selection Keep selected
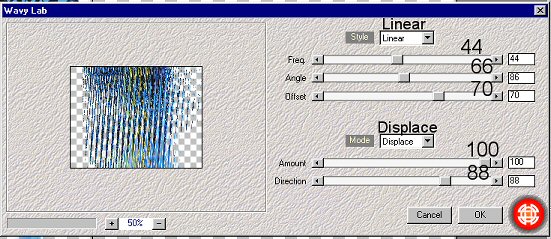
7. Effects - Plugins - Mehdi - Wavy Lab Apply the
settings below and deselect
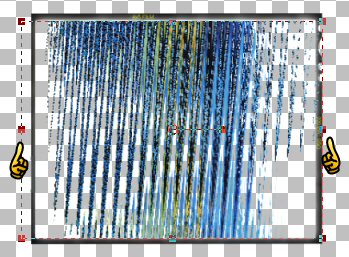
This is what you should have now
If you want to fill more of the edge tube - activate
the deformation tool and pull out the sides as shown below
8. Layers - Merge - Merge Visible On
your layer palette - duplicate the merged layer Working on the
copy of merged layer Image - Rotate - Free Rotate -
10.00 Ensure All Layers is unchecked
Move the rotated edge tube to the right Position as I
have in the my header or tag below
9. Activate your main
tube Edit - Copy (you can close this tube) Edit - Paste -
Paste As A New Layer on the edge tube canvas I resized the tube
75% (Bicubic Resampling) Postion the tube you are using as you
wish Effects Plugins - Eye Candy 3 - Drop Shadow
10. Layers - New Raster Layer Choose 2 colors
from your main tube I used for the foreground #3a3a84 and
background #a9b8d4 Select the text tool and set it up as follows:
Type out your text Deselect the text Effects - Plugins
- Eye Candy 3 - Drop Shadow
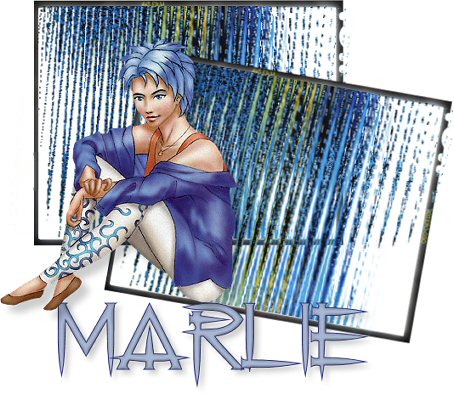
Position your text - as I have or to your liking Once you
are happy with it, Layers - Merge - Merge Visible Copy your
merged image and paste as a New Image to get rid of the excess space
around the tag Layers - Merge - Merge All Flatten
I hope you have enjoyed
this tutorial
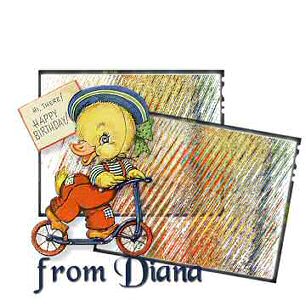
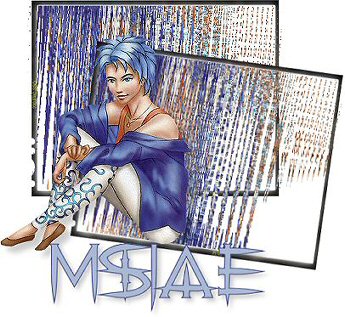
Thank you to Diana and Ms Jae for testing
this tag for me!
If you have any questions, please feel free to Email me