
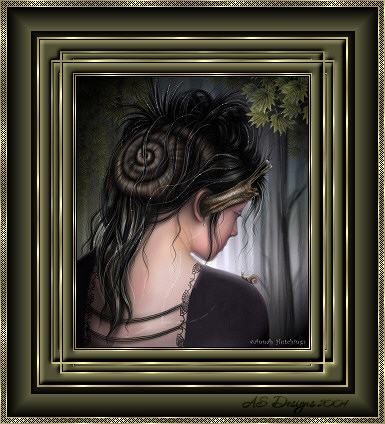
Artwork used with permission and it's copyright to Annah Hutchings .
Thank you Annah for allow the use !
This tutorial was made in PSP 8.10, and assumes that you
have intermediate knowledge in PSP.
To do this tutorial you'll need:
Paintshop Pro - click here to download a trial version
Bordermania Pro + Photo Swizzle - click here to download a trial version
VM Natural - Downstairs - click here to download
The gold patterns I used - click here to download
A image of your choice.
Step 1 - Open your image in PSP hold down shift+D,
close the original and resize the copy if is needed.
The image used here has height = 270 px.
Adjust Sharpness - Sharpen if nedeed.
Step 2 - Open the gold patterns in PSP, if you didn't
saved on you patterns folder. Change your foreground
to the Gold Foil pattern Angle=0 Scale=100.
With the dropper tool select a dark and a light color from
your image, to turn easier you can save this colors in your swatches.
Step 3 - Go to Image - add borders . Using the darker color
add a symmetric border with 1px.
We'll use symmetric borders in all this tutorial.
Step 4 - Go to Image - add borders . Using any contrasting color,
add a 1px border. Select this border with the magic wand,
using this settings, and flood fill with the gold pattern.
Deselect.

Use the zoom to turn easier flood fill the border.
Step 5 - Repeat steps 3 and 4.
Step 6 - Using the lighter color add a 10 px border.
Select this border with the magic wand.
Go to Effects - 3D Effects - Inner Bevel
with this settings :

Deselect.
Step 7 - Go to Image - add borders . Using the darker color
add a 1px border.
Step 8 - Go to Image - add borders . Using any contrasting color,
add a 2px border. Select this border with the magic wand,
using this settings, and flood fill with the gold pattern.
Deselect.
Step 9 - Using the lighter color add a 20 px border.
Select this border with the magic wand.
Go to Effects - PhotoSwizzle - Prism with the
settings bellow, depending of the size of your
image you can do changes in the Width and Depth:
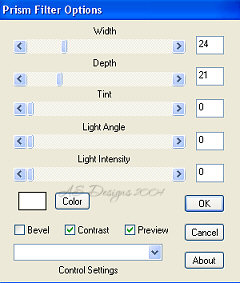
Don't be afraid with the preview, this is how mine looks:

Deselect.
Step 10 - Wind the magic wand select the area
outside of the golden border. Apply the
same Inner Bevel as before in Step 6.
Deselect.
Step 11 - Repeat Steps 7 and 8.
Step 12 - Using the lighter color add a 30 px border.
Select this border with the magic wand.
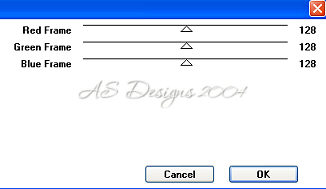
Go to Effects - VM Natural - Downstairs,
with this settings :
Deselect.
Step 13 - Go to Image add borders. Add a 1px border
with any contrasting color, select this border with
the magic wand and flood fill with the gold pattern.
Deselect.
If you need to resize your image do it now, and
sharpen if nedeed, before we add the next border.
Step 14 - Go to Image add borders. Add a 5 px border,
with any contrasting color, select this border
with the magic wand and flood fill with the as_gold
tile Angle= 0 Scale = 100.
Deselect.
Step 15 - Go to Image add borders. Add a 1px border
with any contrasting color, select this border with
the magic wand and flood fill with the Gold Foil pattern.
Deselect.
Finish!
® Copyright 2004 - 2006 Andrea Sampaio
Free JavaScripts provided
by The JavaScript
Source