|
Defiance
Written by Destiny on March 26,
2008
All Rights ® retained to same
This tutorial was written by me on
March 25, 2008 and any similarity to any other
tutorial is purely coincidental.
Please do
not claim it as your own. This tutorial was
written by me using PSP X2 and I retain all
rights to same.
Your results, however, are
not and are yours to do with as you will.
I
hope that you enjoy this tutorial and if you
have any questions please E-Mail
me.
All materials and tubes used are
copyrighted to their respective owners and
credit will be given if known.
Images
supplied with my tutorials that I have made may
be shared with other groups as long as my
watermark is not removed.
If there is
something I have used and it is yours, please
let me know so I can give you credit or take it
down.
You can download a free trial of PSP here
This tutorial assumes
you have a working knowledge of PSP.
Unrar
files into a folder that you can easily
access.
open the supplied images in psp
Put
mask in your mask folder.
Open font for use in
psp.
Install plugins into your plugins
folder. |
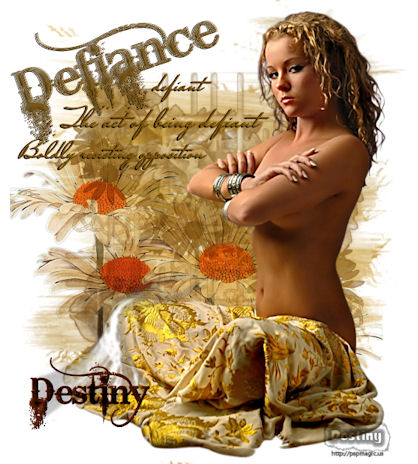
Ok, Let's get started.
- New Image size 557 x 619
- Flood fill with white
- choose two colors from your tube
- I used : #7f560b and #e8be58
- set gradient to #2 fore/background angle 45
repeat 1
- new layer flood fill with gradient
- layers load mask173_KREATIONS
- fit to canvas, source luminance
- apply
- delete mask layer
- merge group
- New Layer
- paintbrush: Kara Tagback flow2
- color: fore: #5d2805 back: #7f560b
- set gradient to #2 fore/background angle 45
repeat 1
- Apply paintbrush to center of canvas
- edit, copy floral daisies
- paste as new layer
- layer setting: multiply
- edit copy tube: defy_tube
- edit paste as new layer
- new layer
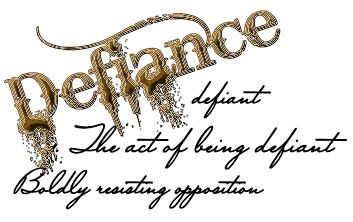
- paintbrush: find des_defiance
- make foreground color black and background
color: #7f560b
- apply brush with black and then again with
your 2nd color,
moving the brush just a touch
- If you want to skip this step I have
included the word art that I made the brush
from.
- Add your name (font I used: Bleeding
Cowboys)
- Effects: apply inner bevel:
Settings:
- bevel shape: 12, width: 12
- Image: Smoothness: 16, depth: 4, ambience:
0, shininess: 0
- Light: Color White, angle 315, intensity 25,
elevation: 30,
- effects: eye candy 5: Nature/ smoke
- settings: smoke type: wispy, direction: 30,
50.74, 27, 38, 42, 79, random seed 1924
- color: natural smoke
add
watermark
merge all, resize (if you want
to), and save as jpg.
I hope that you
have enjoyed this tutorial and if you have any
questions please e-mail
me or leave a message in the forum.
Thank you, Destiny
| | | |
Tutorial
registered with TWI

~~~ Home /
Tutorials
/ / Forum ~~~
|