
I wrote this
tutorial in PSP 7.04 but it can easily
be
done in PSP 8 or other versions.
What You Will Need
Jasc Paint Shop Pro
Super Blade
Pro
Preset - Super Blade Pro Page 1- Here
*This
preset can't be used with Blade Pro*
****The
User Name and Password is directly above the
Blade Pro Pages****
Supplies - Here
*Unzip
and minimize on your workspace
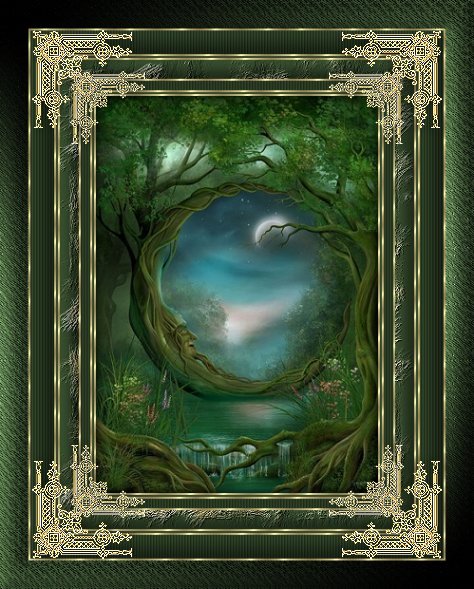
Graphic of
choice
1. Open your graphic,
duplicate and close original
Choose a color
from your graphic and set as the foreground
color
I used #33472b - also make note of the
Hue and Saturation
Set foreground pattern to
the gold
Set background to white
2.
Add 2px border - select with magic wand
Flood
fill with the gold pattern
Selections -
Invert
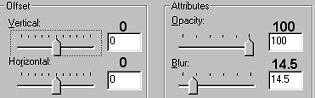
Effects - 3D Effects -
Cutout
Select none
3. Add 2px
border - select with magic wand
Flood fill
with foreground color
Select none
4.
Add 2px border - select with magic wand
Flood
fill with the gold pattern
Select none
5. Add 10px border - select with magic
wand
Flood fill with foreground
color
Effects - Texture Effects -
Blinds
Select none
6. Add 2px border - select
with magic wand
Flood fill with gold
pattern
Select none
7. Add 20px
border - select with magic wand
Flood fill
with foreground color
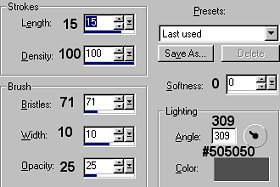
Effects - Artistic
Effects - Brushstrokes
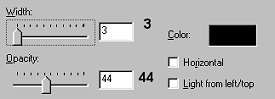
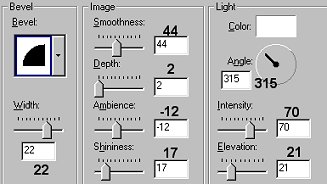
Effects - 3D Effects
- Inner Bevel
Select none
8. Add 2px border - select
with magic wand
Flood fill with gold
pattern
Select none
9. Add 2px border
- select with magic wand
Flood fill with
foreground color
Select none
10. Add
2px border - select with magic wand
Flood
fill with gold pattern
Select none
11. Add 25px border - select with magic
wand
Flood fill with foreground
color
Effects - Texture Effects -
Blinds
Apply the same settings as in Step
5
Effects - 3D Effects - Inner Bevel
Apply
the same settings as in Step 7
Select none
12. Add 2px border - select with magic
wand
Flood fill with gold pattern
Select
none
13. Add 30px border - select with
magic wand
Effects - Plugins - Super Blade
Pro - nk-peacockblue
Colors - Colorize
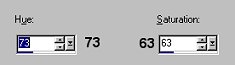
Set the Hue and Saturation to
that of your own color choice
Effects -
3D Effects - Inner Bevel
Apply the same
settings as in Step 7
Select none
Add the corners I have supplied
or some of your own.
I hope you have enjoyed
this tutorial

Tutorial
Copyright Marlie ©2003
| | | | | | | | | |