|
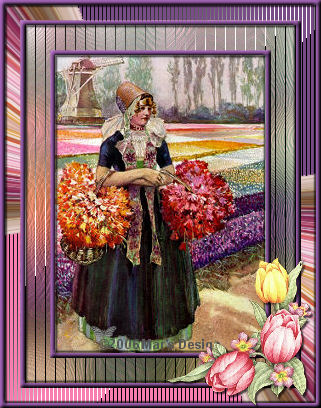
Bulb Fields
Frame
(PSP all
versions)
A tutorial by
Mar © 2006

What you need:
PSP. Download a 30 day trial
here.
The images: Download
here.
The Tramages Filter. Download
here.
Save the filter in your Plugins folder in PSP.
Close
and restart PSP otherwise your filter won't work.
Save
often.
Let's go. Good
luck.....
Are you all looking
forward to spring?
I know I do. I live at the coast of Holland
and in spring I often
take a look in Lisse and Sassenheim, our
bulbs field cities.
Just gorgeous when all the fields are in
bloom.
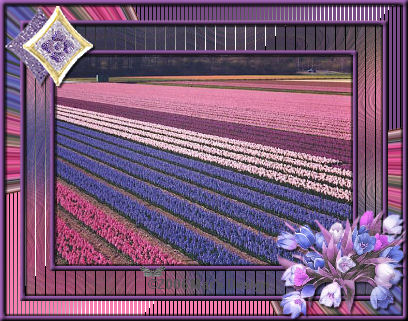
1. Open the BulbFields.jpg or the
BulbFields2.jpg.
They are both royalty free.
2. Shift-D to duplicate your
image.
Copy the image for later usage.
3. Image > Add borders > 5
Pixels > Symmetric > Color #794b87.
4. Selections > Select
all.
Selections > Modify > Contract with 5
pixels.
Selections > Invert.
5. Effects > 3D-effects > Inner
bevel > Color white.

6. Effects > 3D-effects > Drop
shadow > Black.

7. Repeat the drop shadow but this
time Vert. and Horiz. at - 2.
8. Image > Add borders > 25
Pixels > Color white.
9. With your magic wand  (feather 0 - tolerance 10) select the white border.
10. You still have the image in your
PC's memory.
Edit > Paste > Paste into
selection.
11. Effects > Texture effects >
Soft plastic > Color #f87eb2.

12. Effects > Plugins > Tramages > Tow The Line.
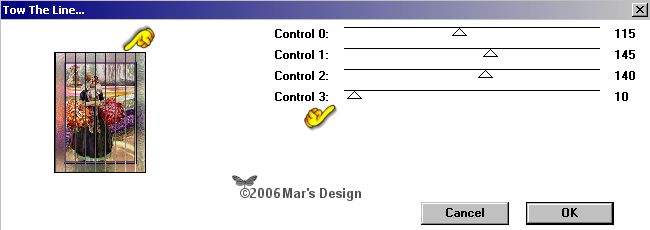
Apply.
13. Image > Add borders > 5
Pixels > Color #794b87.
14. Selections > Select
all.
Selections > Modify > Contract with 5
pixels.
Selections > Invert.
15. Repeat the inner bevel and the drop
shadow at 2 and at - 2.
16. Image > Add borders >
15 Pixels > Color white.
17. With your magic wand
select the white border.
18. You still have the image in your
PC's memory.
If you haven't, copy
again.
Edit > Paste > Paste into
selection.
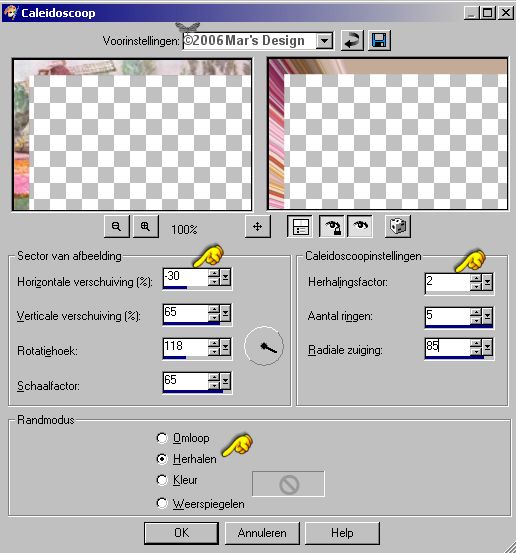
19. Effects > Reflection effects
> Kaleidoscope.
Selections > None.
20. With your magic wand
select the beige at the top.
21. Fill the selection with
#794b87.
22. Effects > Plugins > Tramages > Tow The Line.

Apply.
23. With your magic wand
select the beige at the bottom.
24. Fill the selection with
#f281ad.
25. Effects > Plugins > Tramages > Tow The Line.
The same settings as you used
last.
Apply.
26. Image > Add borders > 5
Pixels > Color #794b87.
27. Selections > Select
all.
Selections > Modify > Contract with 5
pixels.
Selections > Invert.
28. Repeat the inner bevel and the drop
shadow at 2 and at - 2.
Selections > None.
29. Open the MD-BulbFields-Corner.psp
and copy.
Or use a tube that have matching colors of your
own.
30. Edit > Paste > Paste as a new
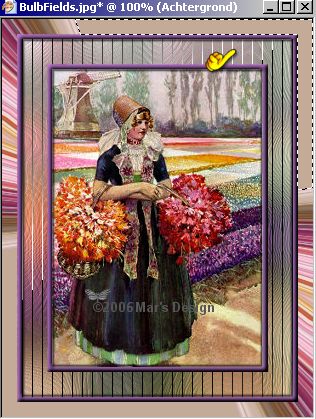
layer.
31. Move the corner like on the
screenshot below.

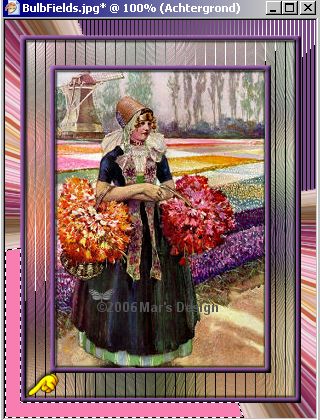
32. Layers > Duplicate.
Image
> Mirror.
Image > Flip.
33. Give the two corners a drop shadow
(same settings) at 2.
34. Layers > Merge > Merge all
flatten.
Your Bulb Fields Frame is
done.
I hope you like this tutorial.
Thank you for trying my
tutorials.

This tutorial is written and
designed by Mar and therefore her property.
This tutorial may not be
downloaded for any purpose other
than to follow the tutorial. If
you're a Moderator of a group,
please e-mail me
before adding this tutorial to any lessons,
etc.
When you do have my permission..... only a text link is
allowed.
My tutorials are never ever to
be sent over any mailing list or to leave my
site.

Since
03-10-2006:
|