|
Bronze Rose
Frame
(PSP 7, 8 &
9 - no filters)
A tutorial by Mar ©
2005.

What you need:
PSP. Download a 30 day trial
here.
The materials: Download
here.
The tubes are made by me.
I have more bronze rose
tubes on my
site here.
Open all images from the ZIP in
PSP.
Save
often.
Let's go. Good
luck.....
1. Open the MD-Rosesart.jpg from the
Zip.
The image is one of my digital pieces.
I made this from a
ornament on a outside wall.
2. Add borders > Symmetric > 5
Pixels > Bleu.
With your magic wand  (feather 0 - tolerance 10) select the bleu border.
Fill your
selection with #9d7c60.
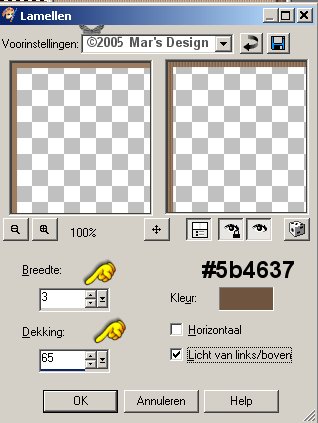
3. Effects > Texture effects >
Blinds > Color #5b4637.
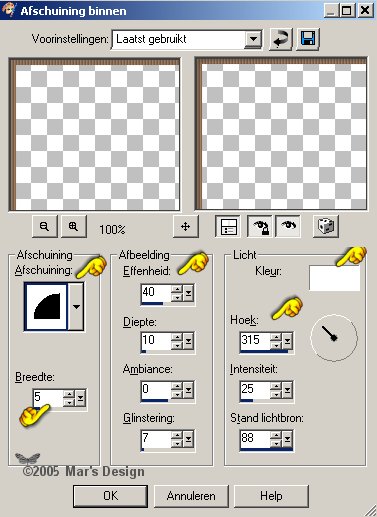
4. Effects > 3D-effects > Inner
bevel > Color white.
5. Effects > 3D effects > Drop
shadow > Color black.

6. Again drop shadow but this time
Vert. and Horiz. to - 2.
7. Add borders > Symmetric > 15
Pixels > Bleu.
With your magic wand select the bleu
border.
Fill your selection with #ddc5ad.
8. Repeat the texture effect Blinds
like before.
9. Effects > Distortion >
Curly Q,s.

10. Add borders > Symmetric > 5
Pixels > Bleu.
With your magic wand select the bleu
border.
Fill your selection with #9d7c60.
11. Repeat the Blinds, the inner bevel
and
the drop shadow at 2 and - 2 like before.
12. Add borders > Symmetric > 50
Pixels > Bleu.
With your magic wand select the bleu
border.
Fill your selection with #ddc5ad.
13. Repeat the texture effect Blinds
like before.
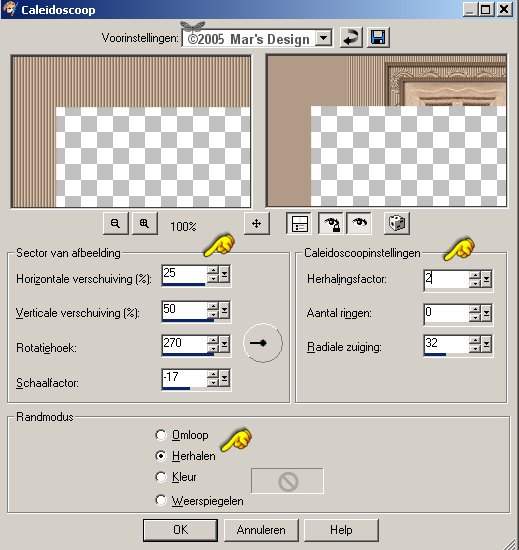
14. Effects > Reflection effects
> Kaleidoscope.
15. Selections > Select
nothing.
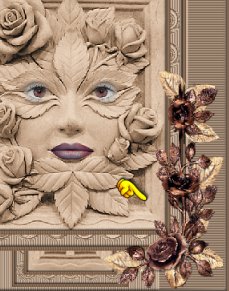
16. Now with your magic wand select the
right part.
Hold shift key down and select the left side too (see
screenshot below).
Make sure your selection tolerance is at
10.

17. Repeat the effect Blinds but this time check horizontal.

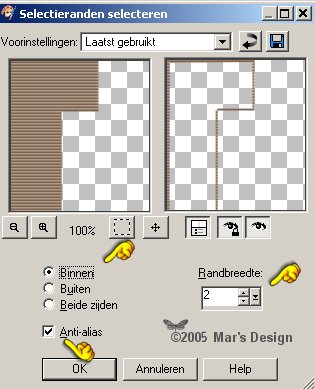
18. Selections > Modify >
Select selection borders > 2 Pixels.
19. Fill both selections with
#ddc5ad.
20. Selections > Select
nothing.
21. Add borders > Symmetric > 5
Pixels > Bleu.
With your magic wand select the bleu
border.
Fill your selection with #9d7c60.
22. Repeat the Blinds but now uncheck horizontal.
23. Repeat the inner bevel and the drop
shadow at 2 and - 2 like before.
24. Selections > Select
nothing.
25. Open the MD-Bronse-rose.psp and
copy.
26. Edit > Paste > Paste as a new
layer.
27. Move  the
rose to the left corner at the top. the
rose to the left corner at the top.

28. Give the rose a drop shadow like
before at 2.
29. Open the MD-Bronse-rose2.psp and
copy.
30. Edit > Paste > Paste as a new
layer.
31. Move this
rose to the right bottom corner.
32. Again give the rose a drop shadow
at 2.
33. Layers > Merge > Merge all
layers flatten.
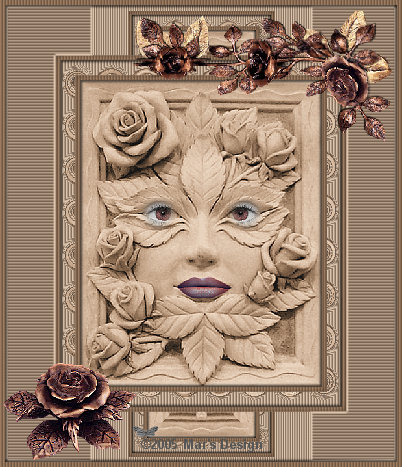
Your Bronze Rose Frame is
ready.
I hope you like this tutorial.
Thank you for trying
this one out.
This tutorial is written and
designed by Mar and therefore her property.
This
tutorial may not be downloaded for any purpose other
than to
follow the tutorial. If your a Moderator of a group,
please
e-mail me before adding this tutorial to any lessons. etc.
When
you do have my permission....... only a link is allowed. My
tutorials
are never ever to be send over any mailing list or to
leave my site.
This tutorial may NOT be copied in part or whole
without my permission.
Translation into English
with help of my best friends, Trudie.
Thanks sweetie! Couldn't do
it without you.

Since
08-06-2005:
|